+ BEFORE
Showing posts with label Interior. Show all posts
March 3, 2013
IN PROGRESS
After almost ten months, three seasons, and the birth of our daughter -- the blog is back! And even though this blog's been quiet these past few months, there are LOTS of house updates to share. I thought I'd start with the project that's currently in progress: the downstairs office and bathroom. These two rooms, located just off of the Great Room (read: the home of the stuffed beaver), were in desperate need of a complete renovation. Think peeling wallpaper, uneven floors, drafty windows, and a nonfunctional bathroom (see above). The bathroom, previously with a cramped shower and crumbling hex tiling, is being turned into a half-bath, with quarter-sawn oak flooring, sheetrock walls, and new plumbing fixtures. The office oak floors have been re-leveled and refinished and the plaster walls are being repaired and then painted. Both rooms will have new, energy efficient, 12 over 12 double-paned windows. See below for progress photos -- we love the contrast of the old refinished floor with depressed black caulk and the new, perfectly level bathroom oak floor with the prominent ray flecks.
+ BEFORE
AFTER
+ BEFORE
May 28, 2012
SUMMER HOURS
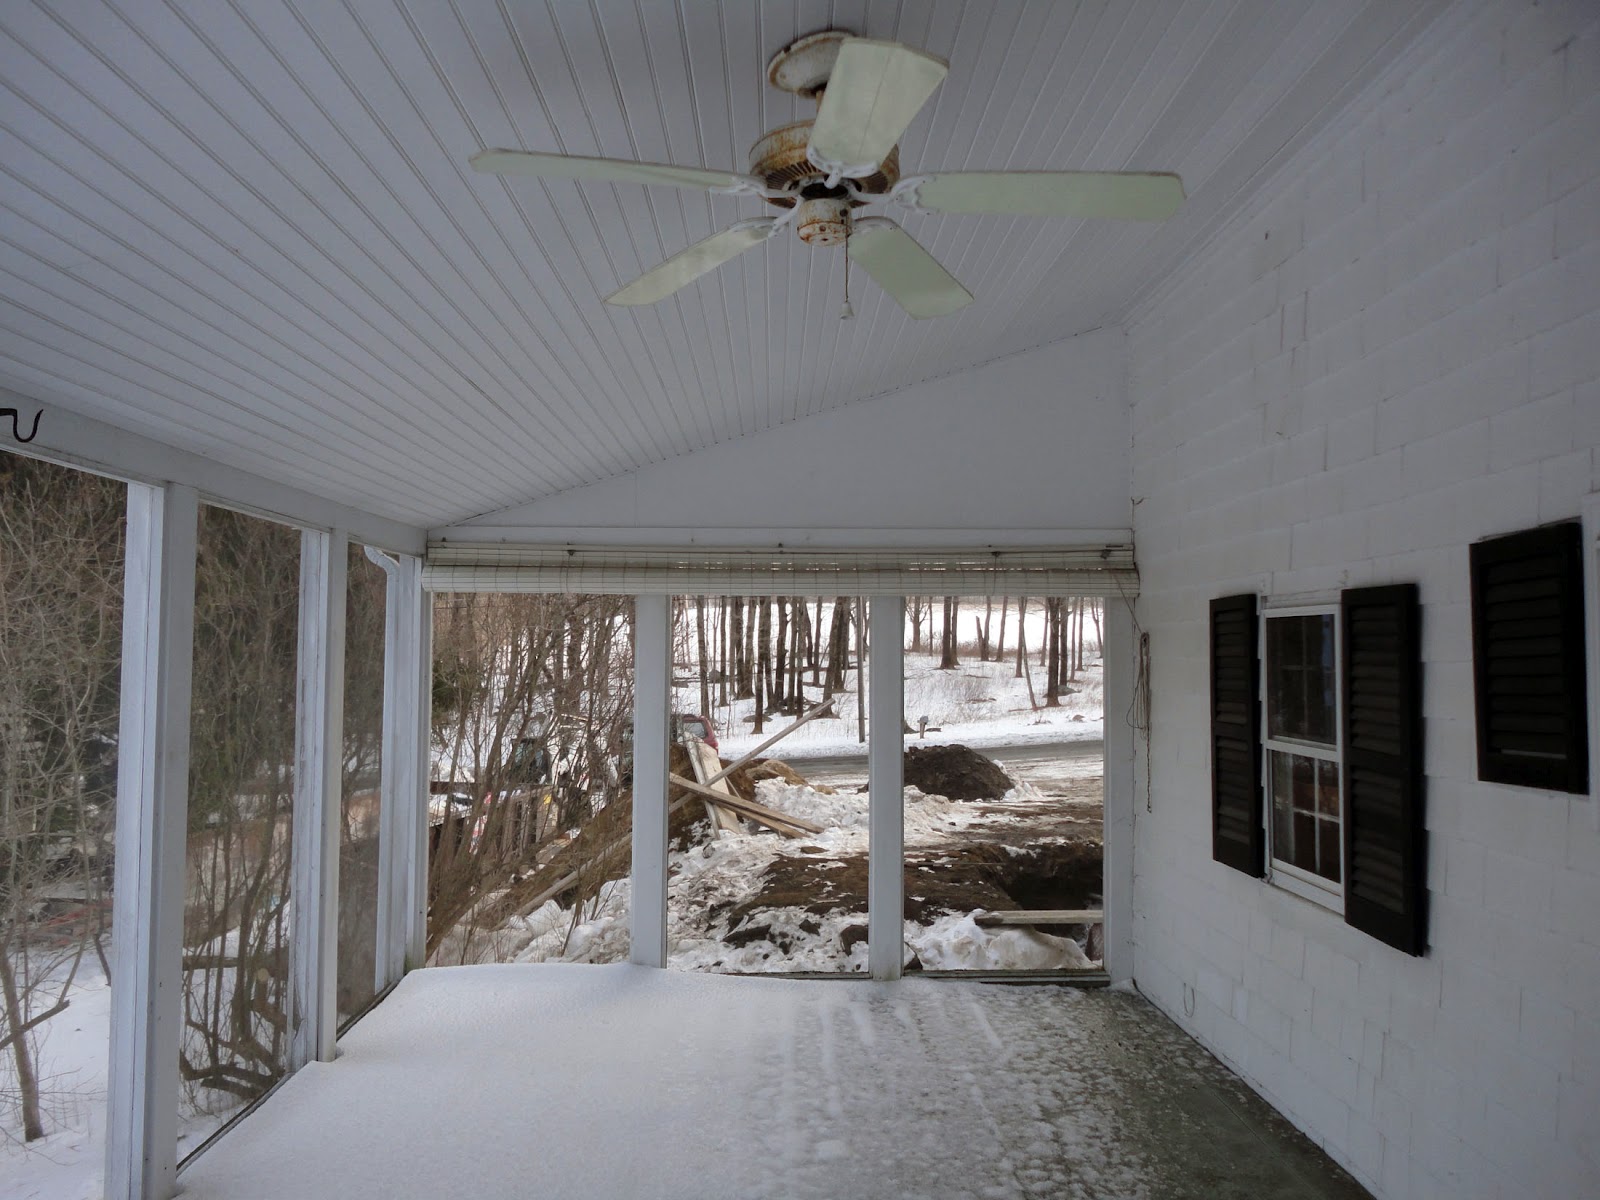
Yikes! I'm realizing over a month has passed since the last posting. It's been such a busy spring, and we're having trouble staying on top of it all. Given that it's Memorial Day weekend -- and feeling a lot like July weather -- I thought it appropriate to give an update on the porch, our new favorite place to be. The large, east-facing screened-in porch was one of the house's early selling points, and late last summer we had the space repainted, choosing a pale blue for the ceiling and a light grey stain for the floor. This weekend, we purchased a few comfortable chairs at a local furniture sale and an inexpensive rug from Target's Smith & Hawken line. The red benches in the photo below, a barn discovery, were given a few coats of creamy paint. We moved the dining table outside and there's some talk of screening movies, via a projector, in the space as well. It's not hard to imagine happily passing the summer months away in this very spot. See below for a few before and after photographs.
April 8, 2012
WINTER PROJECTS
It seems like a long time ago now, but during the fall and winter months, we embarked on a series of small, miscellaneous projects. Some of these projects required outside expertise and others were DIY. In the mudroom, we commissioned a storage unit with hooks and cubbies for coats and winter essentials. The cast-iron hooks are from Schoolhouse Electric Co, a great resource for vintage hardware and lighting: http://www.schoolhouseelectric.com. The kitchen, located just around the corner from the mudroom, also needed a storage system in the form of a center island. A lot of time was spent researching the various, and for the most part, unattractive and expensive options. Ultimately, we decided to have a custom island made -- one with a butcher block top and Metro shelving below -- by Bowery Kitchens in New York. While we haven't needed the extra storage just yet, the extra prep space is fantastic.
For two of the bedrooms, I created bedside tables comprised of blacken steel pipe fitting bases (my absolute favorite modular system) with serving tray tops to hold lamps, magazines, etc. The bases are surprisingly steady, and the trays don't require attachment brackets. The side tables are different heights, working with the height of the adjacent bed. Last fall, we also made a long dining table out of old barn wood and pipe fittings -- photos to follow.
February 12, 2012
THE WALLS
As the doldrums of winter set in, we're slowly turning our attention to decorating the inside of the house. All of the interior walls are currently white and the thinking is that a bit of color might help add some warmth this time of year. We do have a few framed photos and prints, but I've also been looking into creative and inexpensive ways to add some interest to the walls (and ceilings!). See below for a few ideas from my favorite print publications: Anthology, Domino (sadly, now defunct), and ELLE Decor.
January 15, 2012
THE GREAT ROOM
All of the newly painted rooms in the house are white. We like the white because it's emphasizes the the views outside and creates a clean, bright interior. In the middle of the house, however, is a much darker, wood paneled room that we refer to as 'The Great Room.' The Great Room has its quirks. It's a double height room with a large stone fireplace and wide chestnut floors. There's also a small, strange loft-like space above, which at one point had a separate staircase (the outline of the steps still marks the west wall). When we bought the house, there was an exterior door on the southwest side of the room and a large hatch in the floor, leading to the basement. Our carpenter recently installed reclaimed chestnut slats over the hatch and, last year, the door was exchanged for a window and the former stair landing removed. We've recently started furnishing the space with sconces along the south wall, a couch from the ABC Carpet & Home outlet in the Bronx, and a couple of leather chairs from J. Seitz & Co in New Preston, CT. Future plans include wall to wall bookshelves (Hello, Putnam Ladder! http://www.nytimes.com/2008/06/29/nyregion/thecity/29ladd.html) and additional lighting. This winter, we've found the room to be our favorite in the house.
November 7, 2011
A FRESH COAT OF PAINT
Now that the majority of the exterior house work is finished (new siding, foundations, drainage!), we can turn our attention to the interior. Given the state of the exterior, it should come as no surprise that the inside of the house presented a challenge in its purchased state. However, with the exception of the kitchen, which required a lot of work, the first phase of interior work will be confined to easier, lower-budget solutions, such as new paint. Enter my parents. These hard-working painting veterans happened to plan their Connecticut visit this fall at just the time that we needed some painting expertise and free labor. As mentioned previously, the walls in the house were a combination of imposing and clashing paint colors (e.g. mustard and fushia) and layer upon layer of wallpaper over crumbling plaster. In their short stay, my parents were able to paint two of the guest rooms in the newer portion of the house. We also hired a professional painter last spring to repair plaster walls, sand existing trim, and paint the living room, dining room, front hall and a guest bedroom. A flooring company removed and then sanded the mint green, lead-paint painted pine floors. To date, all the walls have been painted with Benjamin Moore 'White Heron', which provides a nice contrast to the wood beams and trim and emphasizes the views to the outside. Even with all of our paid and unpaid labor there is still a lot to be done in this department (read: all house guests welcome!). There are more than a few rooms in which the outdated peeling strawberry, flowered, or dotted wallpaper remains. See below for a few before and after photographs of the on-going painting project.
September 25, 2011
THE KITCHEN BEFORE + AFTER
Our house was in really bad shape when we bought it. In addition to being vacant for at least the last 3 years (bats! mice! toads in the basement!) and it was also extremely quirky from both a structural standpoint (there isn't a level floor or ceiling to be found) and on the surface (think mint green walls with mustard-colored trim). Some solutions were easy to implement (white paint!) while others, such as lowering the floor, proved to be more costly and had longer trajectories. The recently completed kitchen renovation has been the biggest interior house project to date. Not surprisingly, this room had its own set of eccentricities, including a large brick chimney with an indoor grill and a half-bath with an interior window located in the pantry. The kitchen was also divided in the middle by a level change in both the flooring and the ceiling. Last Spring, after demo was complete and the walls were framed and sheet-rocked, contractors began working to install a new kitchen comprised of grey soapstone counter-tops, oak flooring, off-white cupboards, bright white subway tile, and a double porcelain farm sink. The indoor grill was re-purposed to contain the second oven and given a few coats of hi-gloss paint. A small mudroom was carved out near the door, and the windows were enlarged above the sink. Our architect friend PH had the genius idea of re-using the falling (now fallen) down barn window and wood in the new mudroom. At some point we'll get around to finding light fixtures, but right now we're just enjoying the luxury of having running water. See below for a series of before and after photographs.
Subscribe to:
Posts (Atom)